Heat Press Temperature Problems? Simple Checks for Sublimation Printing
Author : Edi Jiang | Published On : 12 Aug 2026
If you’ve been doing sublimation for a while, you’ll eventually notice something that no temperature chart can prepare you for: the same settings don’t always produce the same result.
You can press two mugs using the same paper, ink, temperature and time, yet one comes out with deeper colours while the other looks slightly faded. A T-shirt might be perfect in the morning but less impressive later in the day. Sometimes the difference is down to the blank or the artwork. Sometimes, though, the heat press is the part quietly causing trouble.
The good news is that you don’t need to become a technician to keep an eye on it.
A few simple checks built into your normal sublimation routine can tell you a lot about how your press is performing. They can also help you catch problems before they turn into a pile of wasted mugs, shirts or coasters.
Start with the print, not the machine
When a sublimation print looks wrong, it’s tempting to blame the heat press immediately. I’d actually start by looking at the pattern of the problem.
If the whole image looks consistently pale, temperature or pressing time could be worth investigating. If one corner looks noticeably weaker than the rest, uneven heating or pressure becomes more interesting.
If only part of a garment is affected, check how the item was positioned. A seam, pocket or thicker section of fabric can prevent proper contact with the platen.
This little bit of detective work matters because not every poor print is a heat press problem.
Before changing settings, look at what the finished print is telling you.
Give the platen time to settle
One of the easiest mistakes to make is starting production as soon as the heat press reaches the temperature shown on the display.
The machine beeps. It says 200°C. You start pressing.
Simple enough, right?
Not always.
A heavy platen can take longer to become evenly heated than the display suggests. This is particularly noticeable in colder rooms, garages and workshops during winter.
Try giving the machine another five to ten minutes after it reaches the target temperature. You’re not necessarily waiting for it to become hotter. You’re giving the whole platen more time to stabilise.
For a small hobby setup, this costs almost nothing. If it gives you more consistent results, it’s probably five minutes well spent.
Check the same spots regularly
A heat press can have a temperature difference between the centre and the edges. That doesn’t automatically mean the machine is faulty, but it’s useful to know what your particular press is doing.
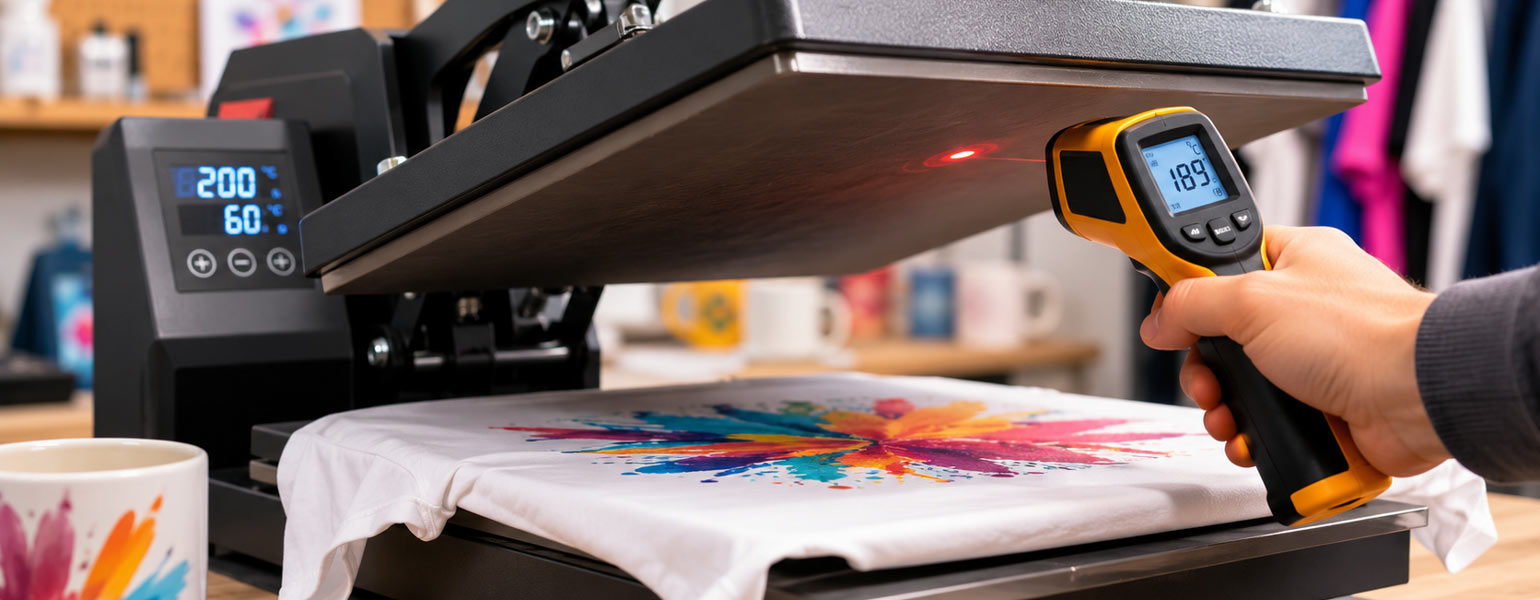
An inexpensive temperature strip can give you a quick indication. For a more detailed check, an infrared thermometer can be useful, provided you understand its limitations.
Don’t just measure the centre.
Check the centre, left side, right side, top and bottom of the platen. You’re looking for a pattern rather than one isolated number.
If the centre is close to your target but one corner is consistently much cooler, that could explain why a large design sometimes looks uneven.
This is especially worth checking if you regularly press larger garments, panels or several smaller blanks at once.
Don’t completely trust an infrared thermometer
Infrared thermometers are handy, but they’re not magic.
Reflective metal surfaces can give misleading readings, which is why simply pointing a thermometer at a shiny platen and accepting whatever number appears on the screen isn’t the most reliable approach.
A small piece of matte, heat-resistant tape can provide a more consistent surface for measurement. It also makes it easier to compare readings from different areas.
If you need a very precise measurement, a contact temperature probe is a better option.
For everyday sublimation work, though, you’re mainly trying to answer a practical question: is the platen behaving roughly as expected, and is it heating consistently?
You don’t necessarily need laboratory equipment to find out.
Pay attention to changes rather than chasing perfection
Your heat press doesn’t need to display exactly the same temperature as a reference thermometer down to the last degree every time.
What matters more is consistency.
Suppose your machine normally runs slightly cooler than its display, but produces excellent results once you know that. That’s very different from a machine that reads 200°C one day, behaves noticeably differently the next week and has a cold area that appears without warning.
Keep a simple record of what you find.
For example, you might check your press every few months and note the approximate temperature at several points on the platen. If the numbers start moving significantly, you have an early warning that something may need attention.
It’s much easier to deal with a gradual change than discover the problem after 50 failed products.
Use a test blank before a big production run
This is one of the most useful habits you can develop, particularly when an order involves a lot of identical items.
Before pressing 30 mugs, 20 T-shirts or a batch of coasters, sacrifice one blank as a test.
Use the artwork, paper and settings you intend to use for the actual job. Check the result carefully before committing the rest of the batch.
This catches more than temperature problems.
It can reveal a change in blank quality, a paper issue, inconsistent pressure or a setting that simply isn’t working well with the particular material.
Yes, technically you’re using one extra blank.
That’s considerably cheaper than discovering an hour later that the entire batch needs to be redone.
Keep an eye on pressure as well
Temperature tends to get all the attention in sublimation, but pressure can quietly cause inconsistent results too.
A press may be heating correctly while the actual contact between the platen and the blank is uneven.
Take a large T-shirt design as an example. If part of the garment sits over a thicker seam or raised section, the pressure across the design may not be uniform.
The same principle applies to mugs, boards and other awkwardly shaped blanks.
If a print consistently looks weaker in one particular area, don’t automatically increase the temperature. Check whether the transfer is making proper contact with the blank.
More heat isn’t always the answer.
Watch for changes in your normal settings
Experienced printers tend to develop a feel for their equipment.
You know roughly how a good mug should look. You know how a polyester shirt behaves when the press opens. You know whether the paper normally releases cleanly and whether the colours look right straight away.
That experience is useful.
If you suddenly find yourself increasing the temperature by 10°C, adding another 20 seconds or applying much more pressure just to achieve the result you normally get, stop and investigate.
A change in your usual settings can be a clue that something else has changed.
The blank may be different. The paper may have changed. Your press may be behaving differently. Even the working environment can have an effect.
Don’t simply keep increasing the settings until the print looks acceptable.
Check the press when something feels off
You don’t need to test your heat press every morning before making a single mug.
That would be overkill for most small setups.
A more sensible routine is to check it when you notice a change, after moving the machine, following a long period of storage, or when you’re starting a large production run.
It’s also worth doing a more thorough temperature check occasionally, especially if the press is used heavily.
If your results have suddenly become inconsistent and you’ve already ruled out the artwork, paper, ink, blank and pressure, the machine deserves a closer look.
Give your machine a little breathing room
Where you use the press can make a difference too.
A cramped workspace with poor ventilation and large temperature swings isn’t ideal for any piece of electrical equipment. Try to keep the machine on a stable surface with enough room around it and avoid unnecessary movement while it is hot.
If your workshop gets very cold overnight, allow the machine and surrounding equipment to reach a reasonable working temperature before starting a large batch.
It sounds basic, but reliable printing often comes down to these boring little details.
Keep your own settings rather than relying entirely on charts
Manufacturer recommendations and online sublimation charts are useful starting points, but they shouldn’t become gospel.
Two heat presses can be set to the same temperature and time and still behave slightly differently. Different blanks can behave differently too.
Once you find a combination that consistently works, write it down.
Record the blank, temperature, time, pressure and any other useful details. If you notice a seasonal difference or a particular batch behaving differently, add a note.
After a while, you’ll have something much more useful than a generic chart: your own reference based on the equipment and materials you actually use.
A five-minute check can prevent a much bigger problem
Most sublimation problems don’t announce themselves with a dramatic failure.
More often, the colours are just a little weaker. One corner is slightly different. A few mugs look fine while others don’t.
That’s why routine checks are so valuable.
Let the press stabilise. Check a few points across the platen. Pay attention to pressure. Test a blank before a large batch. Keep notes when something changes.
None of these jobs is particularly complicated, and together they give you a much clearer picture of what your heat press is actually doing.
When a print suddenly looks wrong, you can then troubleshoot it logically instead of changing five settings at once and hoping for the best.
In sublimation, consistency is often more valuable than chasing the perfect number on a digital display.
