Bread Proofing Container vs. Basket for Bread Rising: Which Is Better?
Author : Susan Armadale | Published On : 18 Nov 2026

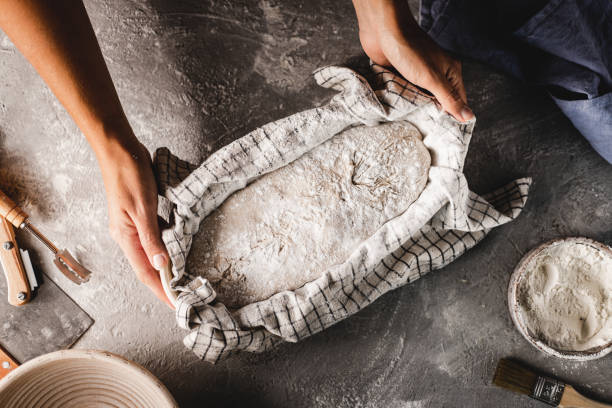
My worst loaf came out of a glass mixing bowl in the winter of my second year baking. I’d lined it with a tea towel, flour dusted on like a rumor, and the dough fused to the cloth so completely that I had to peel it off in strips. What was left on the baking stone looked like a dropped omelette. That was the day I bought a proper basket instead of relying on a makeshift bread proofing container. Here’s what I’ve learned since.
What proofing is
After you shape the dough, it needs a last rest before baking. Yeast or starter keeps producing gas, the gluten loosens up, and the loaf gets ready to spring in a hot oven. Cut that rest short and the crumb turns tight and gummy. Let it run too long and the structure gives out the moment your blade touches it.
A loaf tin handles proofing by itself, since the walls hold everything up. Free-form loaves are the problem. Without something to lean on, a wet dough just slumps outward.
Cane baskets
Most people start with a cane or rattan banneton, and I still think it’s the best all-rounder. The cane pulls a little moisture from the outside of the dough, which firms the surface so the loaf holds its shape. It also leaves those spiral flour lines on the crust that make a plain loaf look like it came from a bakery.
Use rice flour, not wheat, to dust it. Wheat flour turns pasty against wet dough; rice flour stays dry and slippery. I mix about 50/50 rice and plain flour and pack it into the weave with a brush, more than feels reasonable. New baskets need extra: rub flour in and let it sit overnight before the first bake.
The alternatives
Plastic bannetons are cheaper and ignore neglect. I left one in a cupboard for most of a monsoon season and it came out fine; the cane one next to it grew fur. Plastic doesn’t wick moisture, though, so the dough skin stays softer and very wet doughs can cling.
Wood pulp baskets sit between the two. They’re light, they breathe a bit, and they release dough easily. If you bake high-hydration loaves (say 75% and up), they’re worth a look.
Round or oval
Round baskets make boules. Ovals make batards, which slice better for sandwiches and toast. Choose by how you eat bread, not by what looks nicer on Instagram.
Size is the part people miss. As a rough guide, a 9-inch round suits around 500 g of flour, so about 800 to 850 g of finished dough. Go bigger and the dough fans out sideways. Go smaller and it crawls over the rim.
Warm counter or fridge
On a warm counter, proofing takes one to two hours, sometimes less in summer. I mostly use the fridge: shape in the evening, cover the basket with a shower cap, bake the next morning. Eight to fourteen hours cold gives a more complex flavour, and the chilled dough is firmer, so scoring is cleaner. You can bake it straight from the fridge, no waiting.
Is it ready?
Flour a fingertip and press about a centimetre into the dough.
-
Springs back fast and completely: needs more time.
-
Springs back slowly, leaving a faint dent: ready.
-
Doesn’t spring back at all: it’s overproofed. It will still bake, just flatter, so don’t bin it. Make focaccia or flatbread.
Watch the dough as well as the poke. It should look domed and slightly wobbly, and it should sit noticeably higher than when you shaped it.
Care
No soap on cane. Let leftover flour dry, brush it out with a stiff brush, and hang or store it somewhere with airflow. If a patch of dough sticks, leave it until fully dry and it flakes off. Plastic and silicone baskets can go under the tap.
The mistakes I see most
-
Too little flour in the basket, by a wide margin.
-
Placing the dough seam-side down. The seam should face up, so it ends up on the bottom when you flip.
-
Trusting the recipe’s timing in a kitchen that doesn’t match the author’s.
-
Blaming hydration when the real culprit is the setup.
Fix those before you start changing your dough recipe. Nine times out of ten the loaf was fine and the container wasn’t.
Final Thoughts
You don't need a drawer full of fancy tools to bake good bread. But the right support during that last rise really does change the outcome. Pick a material that suits your habits, flour it well, watch the dough instead of the timer, and don't panic when a loaf comes out ugly. They still taste great. A basket for bread rising can help support the dough and maintain its shape before baking. Start simple, adjust as you go, and keep baking. That's honestly the whole secret.
